Stephanie McNulty worked in partnership with Visit Idaho to create this Travel Tip.
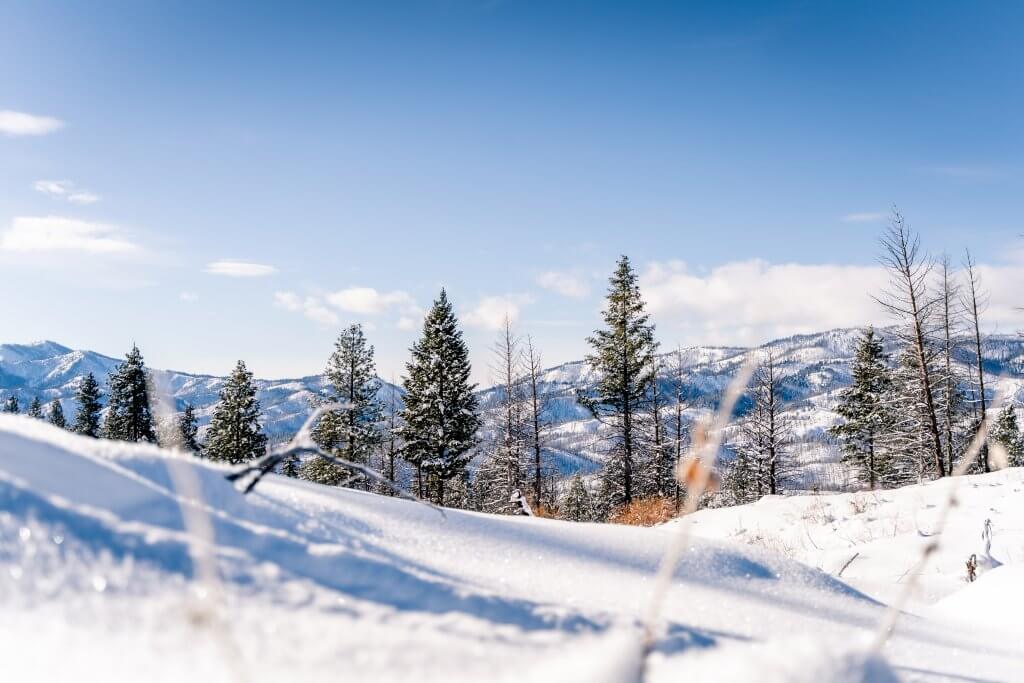
Tucked into the backcountry of the Boise National Forest just outside of Boise is an incredible winter family adventure. The Skyline yurt offers views that leave a lasting impression at any age. The stillness of a landscape blanketed in white invites a truly restful stay, away from distractions of any kind. It is all yours to enjoy from the comfort of a toasty warm hut with wood burning stove.
Visiting a backcountry yurt is truly an iconic Idaho experience. Here is everything you need to know on how to have a winter yurt trip of your own.

How to Book a Yurt
Idaho Parks and Recreation manages six backcountry yurts in the Idaho City area, including the Skyline yurt. Yurts are reserved on a nine-month rolling calendar and weekends usually book first. Check the site frequently to snag any cancellations for last-minute adventures. Reservations are all done online.
To park at the trailhead access point, you will need a Park N’ Ski pass. This pass can be purchased at the same time you make your reservation. These passes are $7.50 for three days, or $25 for the season.

Getting to Skyline Yurt
The trail to Skyline yurt begins at the Gold Fork Park N’ Ski area. The Gold Fork Park N’ Ski parking lot is 20 miles north of Idaho City on Highway 21, just past highway mile marker 59. Be sure to park vehicles close together and parallel to the side of the lot. This allows snowplow operators to easily clear the parking lot in the event of snow. Bring a shovel to keep in your car in case you need to dig out.
There is a pit toilet on site for any last-minute needs. This will be the only place to use a restroom before getting to the yurt.
The Trail to Skyline Yurt
The trail to reach Skyline yurt is about 2.5 miles with 650 feet of elevation gain and is marked with blue diamond blazes that are attached to trees. A half mile from the highway, the trail comes to an intersection. Stay right on the Summit trail for 1.8 miles. You will climb steadily along a scenic ridgeline with stunning views the entire way.

The trail eventually turns in towards the forest and comes to another intersection. This time, stay left on the Skyline trail for about .3 miles. Head through an open gate and look for a large yellow diamond on a 4×4 post that marks the trail towards the yurt. Yellow diamonds lead the way up a short rise and you’ll find Skyline yurt about 200 yards from that point.
On a clear day with a freshly groomed trail, it can take two to four hours to reach the yurt. This time does not include ample opportunity to snap photos on the scenic ridgelines of the trial. If you are an avid photo-bug make sure to give yourself a little extra time.
In heavy snow, you may have to break trail (this is when you’re snowshoeing or cross-country skiing through snow that has not been groomed) which will make this an all-day adventure. The Skyline trail is usually groomed on Thursdays or Fridays from December 1 to March 15. Do not count on the trail being groomed, but a freshly groomed trail will reduce the amount of energy necessary to get to the yurt. It is strongly recommended to be on the trail by 10:00 am.
Be prepared with proper insulating layers and outer wear. Idaho Parks and Recreation recommends traveling with the gear necessary to spend the night outside. It is always a good idea to keep a headlamp accessible in the event that daylight runs out before your hike does.
Be sure to keep your party together. All participants should have an Idaho City area yurt and trail system map. This is extremely important in severe weather or poor visibility. Stay together and stay safe. A slow, steady pace is the best way to approach the journey in.
A Stay at Skyline Yurt
Coming around the last corner and spotting your home in the woods for a few nights is so exciting! Upon arrival, there is still quite a bit of work to do. Trust me, I know you are tired and if you are anything like me, you will want a warm place to sit down and take off your boots. Starting a fire in the wood stove is a top priority. There is a woodpile below the deck, and fire-starting materials inside the yurt.

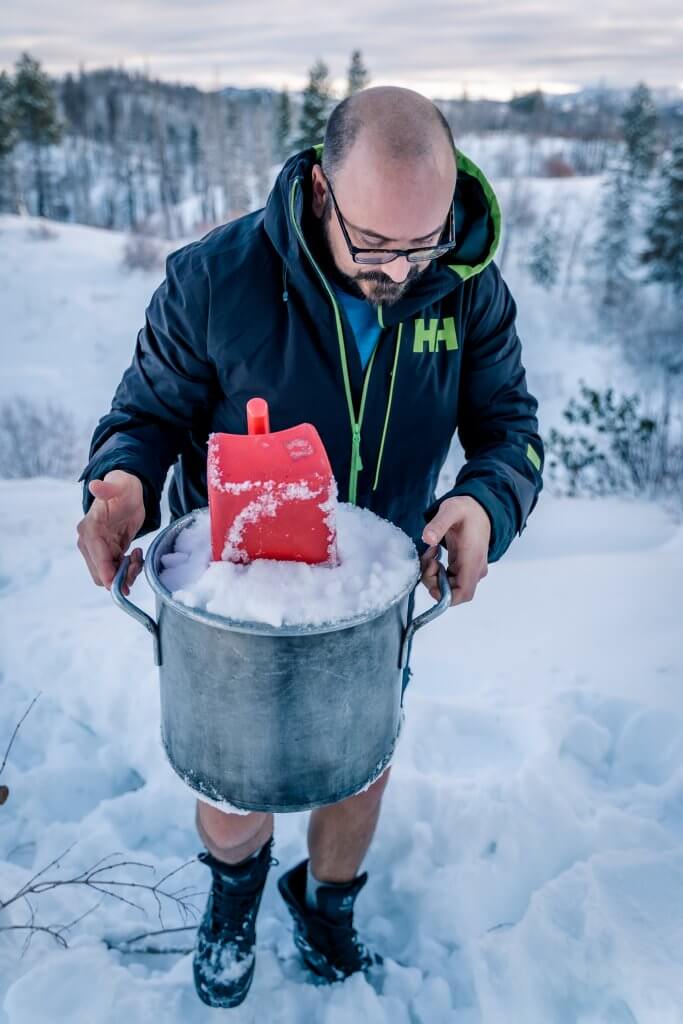
Melting snow for drinking water is the next priority. There is a designated snow collection area, along with large pots inside the yurt to melt the snow in. Boil, filter, and treat the water before drinking. Did you know you can burn water? Make sure there is at least some melted water at the bottom of the pot prior to setting it on the stove to melt.
Also, in the event you don’t print out, highlight, laminate, and tie individual copies of this article to all of your yurt-mates gloves—no worries, instruction books and sheets are posted in the yurt itself to help you along your way.
Each yurt is equipped with a solar panel and LED lights, a wood stove for heat, and a two-burner propane stove for cooking. All the dishes, utensils, and cookware are at the yurt. Bring a one-pound screw in bottle of propane for each night you plan to stay. There are two single bunk beds and a futon that sleeps two people.

Once setup is done, settle in with an enjoyable book, start up a card game, or just cozy in by the fire with a warm drink. Believe me when I say, the serenity is contagious, let life’s worries fade away into the quiet of the coming night and enjoy the presence of the moment. Even the most energetic among your group will find it hard to spoil the peace that is offered.
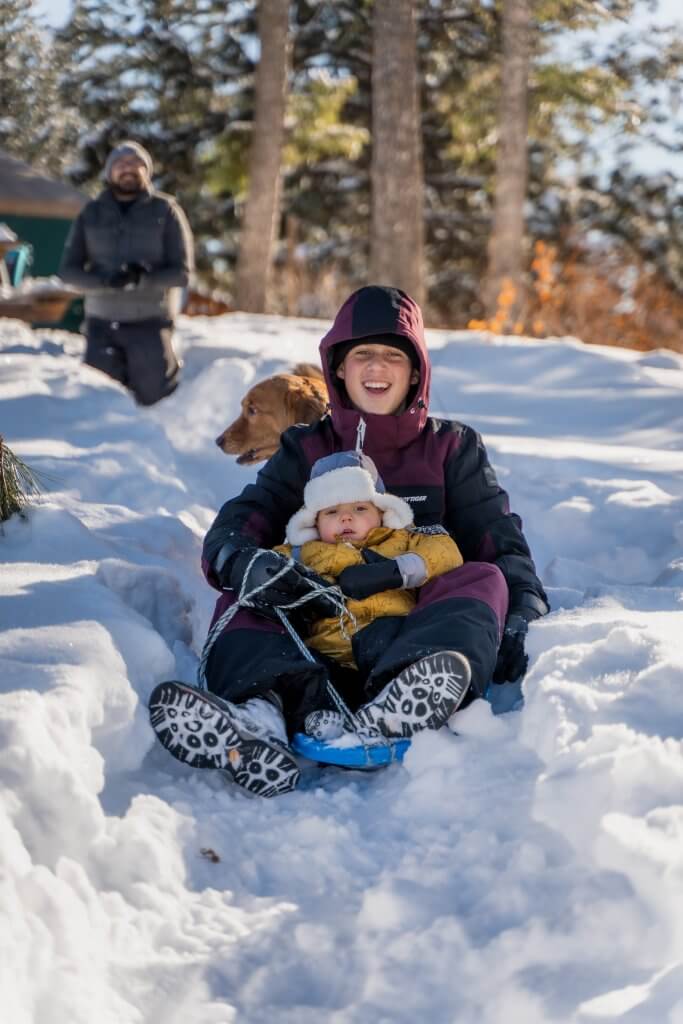
The area surrounding the yurt is a proverbial playground. The next few days can be spent snowboarding, skiing, sledding, snowball fighting, wildlife watching and anything in between. Take this time to truly disconnect and engage with the people around you. These trips offer a rare opportunity to be fully present and escape the distractions of technology and cell phones – capitalize on it!

The Bathroom Situation
Backcountry yurts have no electricity or running water. There is an outhouse with a pit toilet located outside of the yurt a short distance away. There is no door, but the entry is facing away from the yurt for privacy and the view is fantastic. It is stocked with toilet paper. You may want to bring a backup roll just in case.
Yurt Considerations When Visiting with Kids
Yurt trips are an incredibly rewarding experience for families. The accomplishment of completing a difficult snowshoe in, combined with all the fun activities and undivided attention makes for a memorable experience that will be cherished for many years to come. We have taken our baby at seven weeks old, and our kids have been independently snowshoeing since they were five years old.
Here are a few tips that can help make your trip successful:
- Practice snowshoeing beforehand. Get a feel for how long your child is able to hike and choose and appropriate trail length.
- Start early. Give yourself plenty of time for breaks and snacks.
- Consider a trailer to pull small children in. They stay warmer and are generally more comfortable in them. We use a Burley D’lite with a ski kit.
- Bring all the toys and treats. We pack in sleds, snowboards, hot chocolate, and candy. This makes the trip extra special and can provide some motivation on the journey in.
- Pack a light weight sleep system for your little one. We bring a 6-pound pack n play from Phil & Teds, the Slumberpod blackout tent, and a wearable sleeping bag from Morrison outdoors.
- Use a pulk sled or make one yourself to pull in gear rather than packing it on your back.
Off grid adventures don’t have to end in the winter, and skiing and snowboarding are not the only outdoor activities to enjoy in the cold weather.
Remember to pack out all your trash and everything you brought in with you. Leave the yurt better than you found it and protect our Idaho forests by following the Travel with Care principles. I hope you find as much joy as we do on these trips, and that you make some incredible memories with the ones you love. You will be surprised how much there is to gain when you leave everything behind.
Feature image credited to Stephanie McNulty.
Stephanie McNulty is a travel writer, photographer, and content creator based in Boise, Idaho. She fell in love with mountains as a young mom and has been chasing them ever since. Stephanie can usually be found in the wild places of Idaho, the Pacific Northwest, and beyond… all with four feral children in tow. Follow her adventures on IG @thebackpackingmom.
Published on January 17, 2023
